There is no denying that a bay window is a beautiful feature. It adds character to a property, floods the room with light, and creates a sense of spaciousness. However, if you have ever tried to buy blinds for one, you know the panic that sets in.
Measuring a standard square window is easy. Measuring a bay window can feel like you need a degree in geometry.
The fear is understandable. You are worried about ordering three expensive made-to-measure blinds only to find they overlap in the corners or leave huge, gaping gaps. It is the number one reason homeowners put off dressing their bay windows.
But here is the good news: it is not actually that difficult. You do not need complex mathematics or professional laser equipment. You just need a methodical approach. In this guide, we will walk you through the process step by step so you can order with total confidence.
Before You Start: The Golden Rules
1. Use a Metal Tape Measure Cloth tape measures stretch. Plastic rulers are too short. For an accurate fit, you must use a quality metal tape measure.
2. Measure in Millimetres In the UK blind industry, we work in millimetres (mm). It is far more precise than inches or centimetres. Rounding to the nearest centimetre could result in a blind that does not fit.
3. Account for Obstructions Look at your window handles, air vents, and alarm sensors. Do they stick out? If your blind hits the handle before it is fully lowered, you have a problem. We will explain how to handle this later.
Understanding the “Corner Clash”
The biggest mistake people make is measuring the glass width and assuming that is the blind width.
Blinds have depth. The headrail (the metal bit at the top) and the brackets take up space. If you have a bay window with three sections, the blinds in the corners are going to meet. If you do not account for the depth of the headrail, the two corner blinds will crash into each other, and you will not be able to fit them.
To avoid this, we need to calculate the correct width for each blind so they sit neatly next to each other without touching.
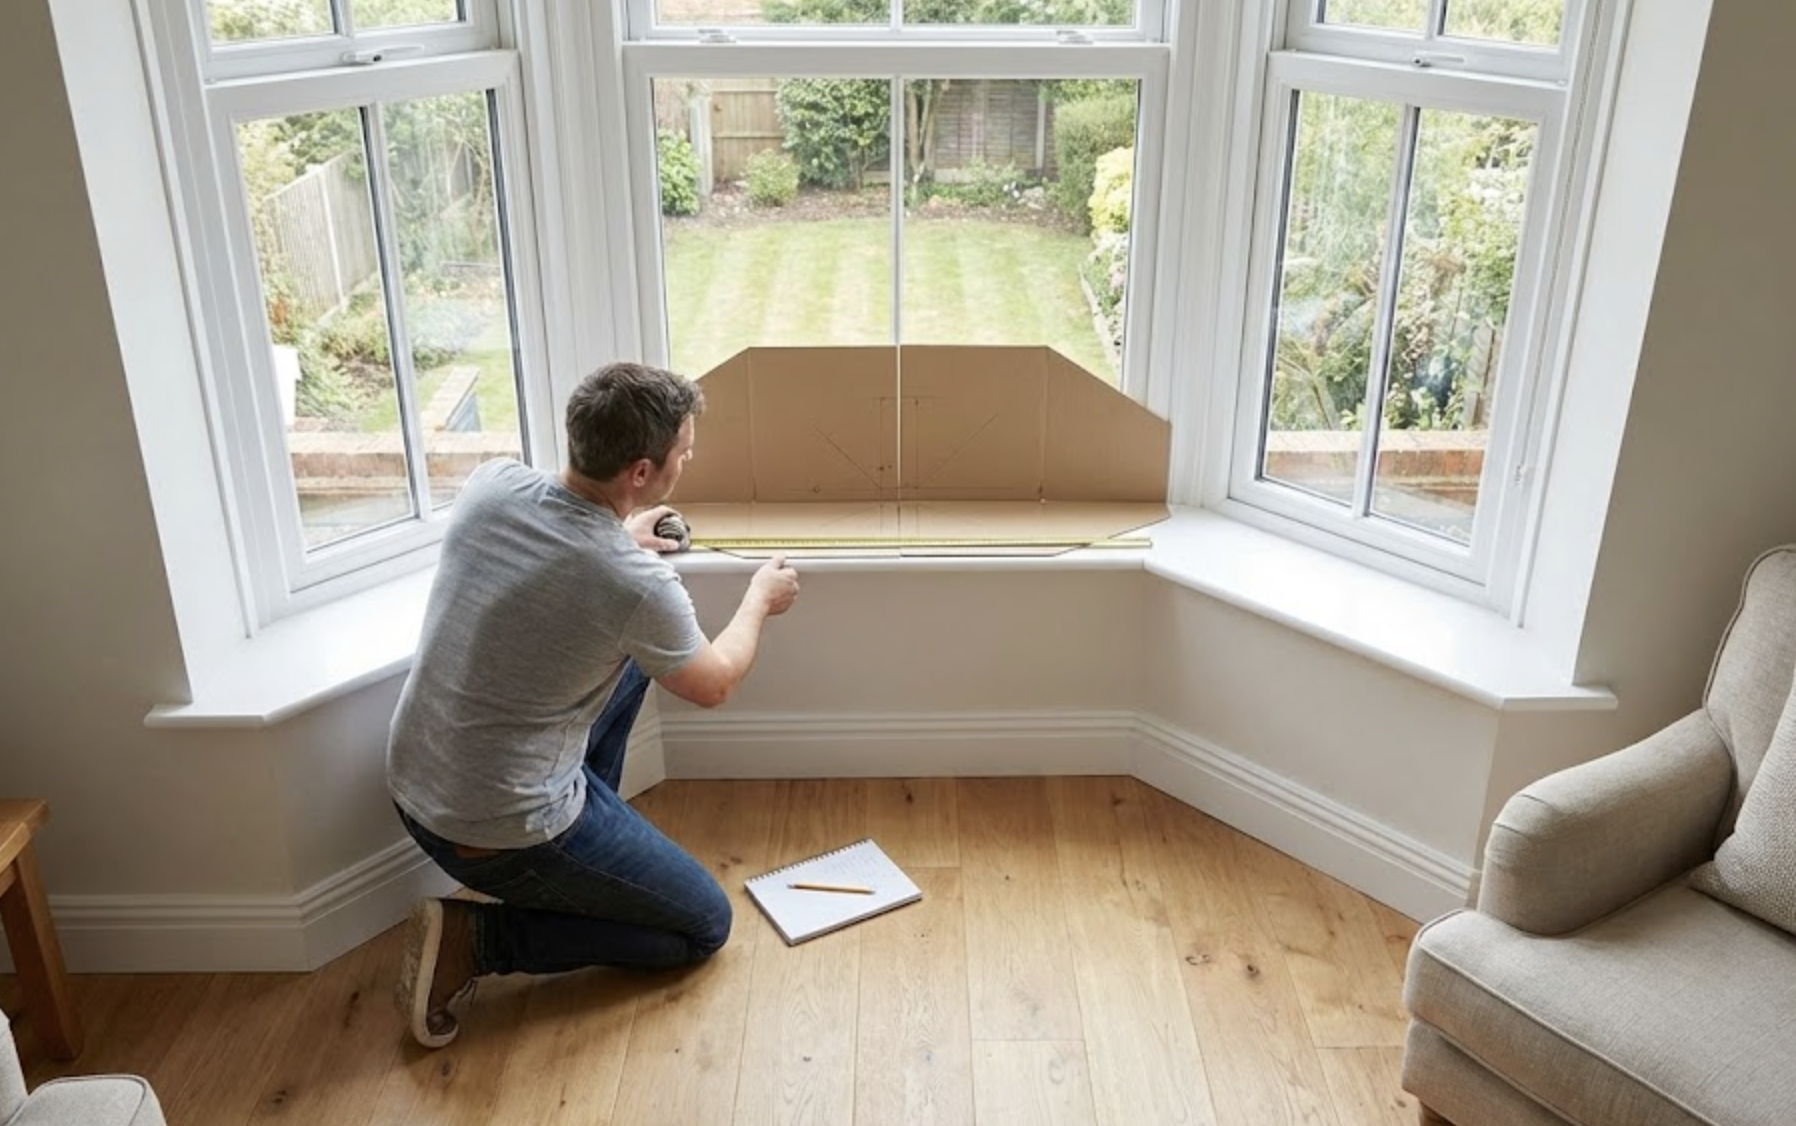
Method 1: The Paper Template Method (The Easiest Way)
This is our favourite method for DIYers. It works for any shape of bay window, whether it is a square box bay or a curved angled bay. It removes the need for complicated maths.
Step 1: Determine Your Blind Depth
First, you need to know which type of blind you want. Different blinds have different headrail depths.
- Roller Blinds: Approx 40mm to 50mm depth.
- Wooden Venetian Blinds (50mm slats): Approx 65mm to 70mm depth (including the valance).
- Roman Blinds: Approx 40mm to 50mm depth.
Check the technical specifications on our product page for the exact “headrail depth” of your chosen blind. Let us assume for this example that you are choosing 50mm Wooden Blinds which need 70mm of space for clearance.
Step 2: Make Your Templates
Cut two strips of stiff cardboard or paper. Make them roughly 30cm long, but the width must be exactly the depth of your blind (e.g., 70mm).
Step 3: Position the Templates
Place your two cardboard strips on the window sill in one of the corners of the bay. Place one strip along the left-hand window and one along the middle window. Slide them towards the corner until the front tips of the cardboard touch.
Step 4: Mark the Measurement Points
With the cards touching at the front, use a pencil to make a small mark on your window sill at the back edge of the cardboard strips (the end furthest from the corner).
Repeat this process for every corner in your bay.
Step 5: Measure Between the Marks
Now, simply measure the distance between the marks you have made.
- Left Blind: Measure from the far left wall (or frame) to your first pencil mark.
- Centre Blind: Measure between the two pencil marks in the middle.
- Right Blind: Measure from the second pencil mark to the far right wall.
This is your width measurement. By doing this, you have physically created the space needed for the blinds to meet perfectly in the corners without overlapping.
Method 2: The Calculation Method (For Square Box Bays)
If you have a square bay window (where the side windows meet the front window at a 90-degree angle), the maths is quite simple.
1. Measure the Side Blind Measure the full width from the wall to the corner where it meets the front window frame. Deduct the blind depth. If you are buying a blind with a 50mm headrail, subtract 50mm (plus 10mm for clearance) from your measurement. This ensures the side blind stops short of the corner, leaving space for the front blind.
2. Measure the Front Blind Measure the full width of the front section from corner to corner. Deduct nothing. The front blind typically goes all the way into the corners. However, if you are face-fixing (screwing into the window frame rather than the ceiling), you may need to deduct the depth of the side blinds from both ends of the front blind.
Tip: The Paper Template Method is always safer if you are unsure.
Don’t Forget the Drop (Height)
Measuring the drop is straightforward, but consistency is key.
- Measure from the point where you will fix the brackets (usually the top of the window frame or the ceiling of the bay) down to the window sill.
- Measure this in three places: the left, the centre, and the right.
- Take the smallest measurement. Bay windows are prone to structural movement or settling over time. The ceiling might not be perfectly level. If you order your blinds to the largest measurement, they might drag on the sill at the shorter end. Always use the smallest drop measurement to ensure the blinds hang freely.
Critical Check: Handles and Vents
Remember those obstructions we mentioned earlier? Now is the time to check them.
Look at your window handles. Do they protrude significantly? If your handle sticks out by 30mm, your blind needs to hang in front of that handle.
This affects your “Blind Depth” calculation. If the blind headrail is 40mm deep, but you have a 30mm handle, you cannot mount the blind flush against the frame. You need to fit it at least 30mm away from the frame. Therefore, your “effective depth” is 40mm + 30mm = 70mm.
When using the Paper Template Method, cut your cardboard to 70mm wide to account for this extra clearance. This guarantees your blinds will clear the handles when they are lowered.
An Alternative Solution: Perfect Fit Blinds
If all this talk of angles, depths, and clearance is giving you a headache, there is another option.
Perfect Fit Blinds require zero measuring of angles. These are a revolutionary system designed specifically for uPVC windows. The blind sits inside a frame that clips directly onto your window beading. There is no drilling and no screws.
Because the blind moves with the window and sits flush against the glass, there is no “corner clash.” The blinds do not project out into the room, so they naturally bypass each other in the corners. You simply measure the visible glass size of each pane, order the corresponding Perfect Fit frame, and clip it in.
- Pros: Easiest installation, no measuring angles, leaves window sills completely clear.
- Cons: Only works on uPVC windows with rubber beading.
Choosing the Right Style for Bays
Once you have your measurements, which style should you choose?
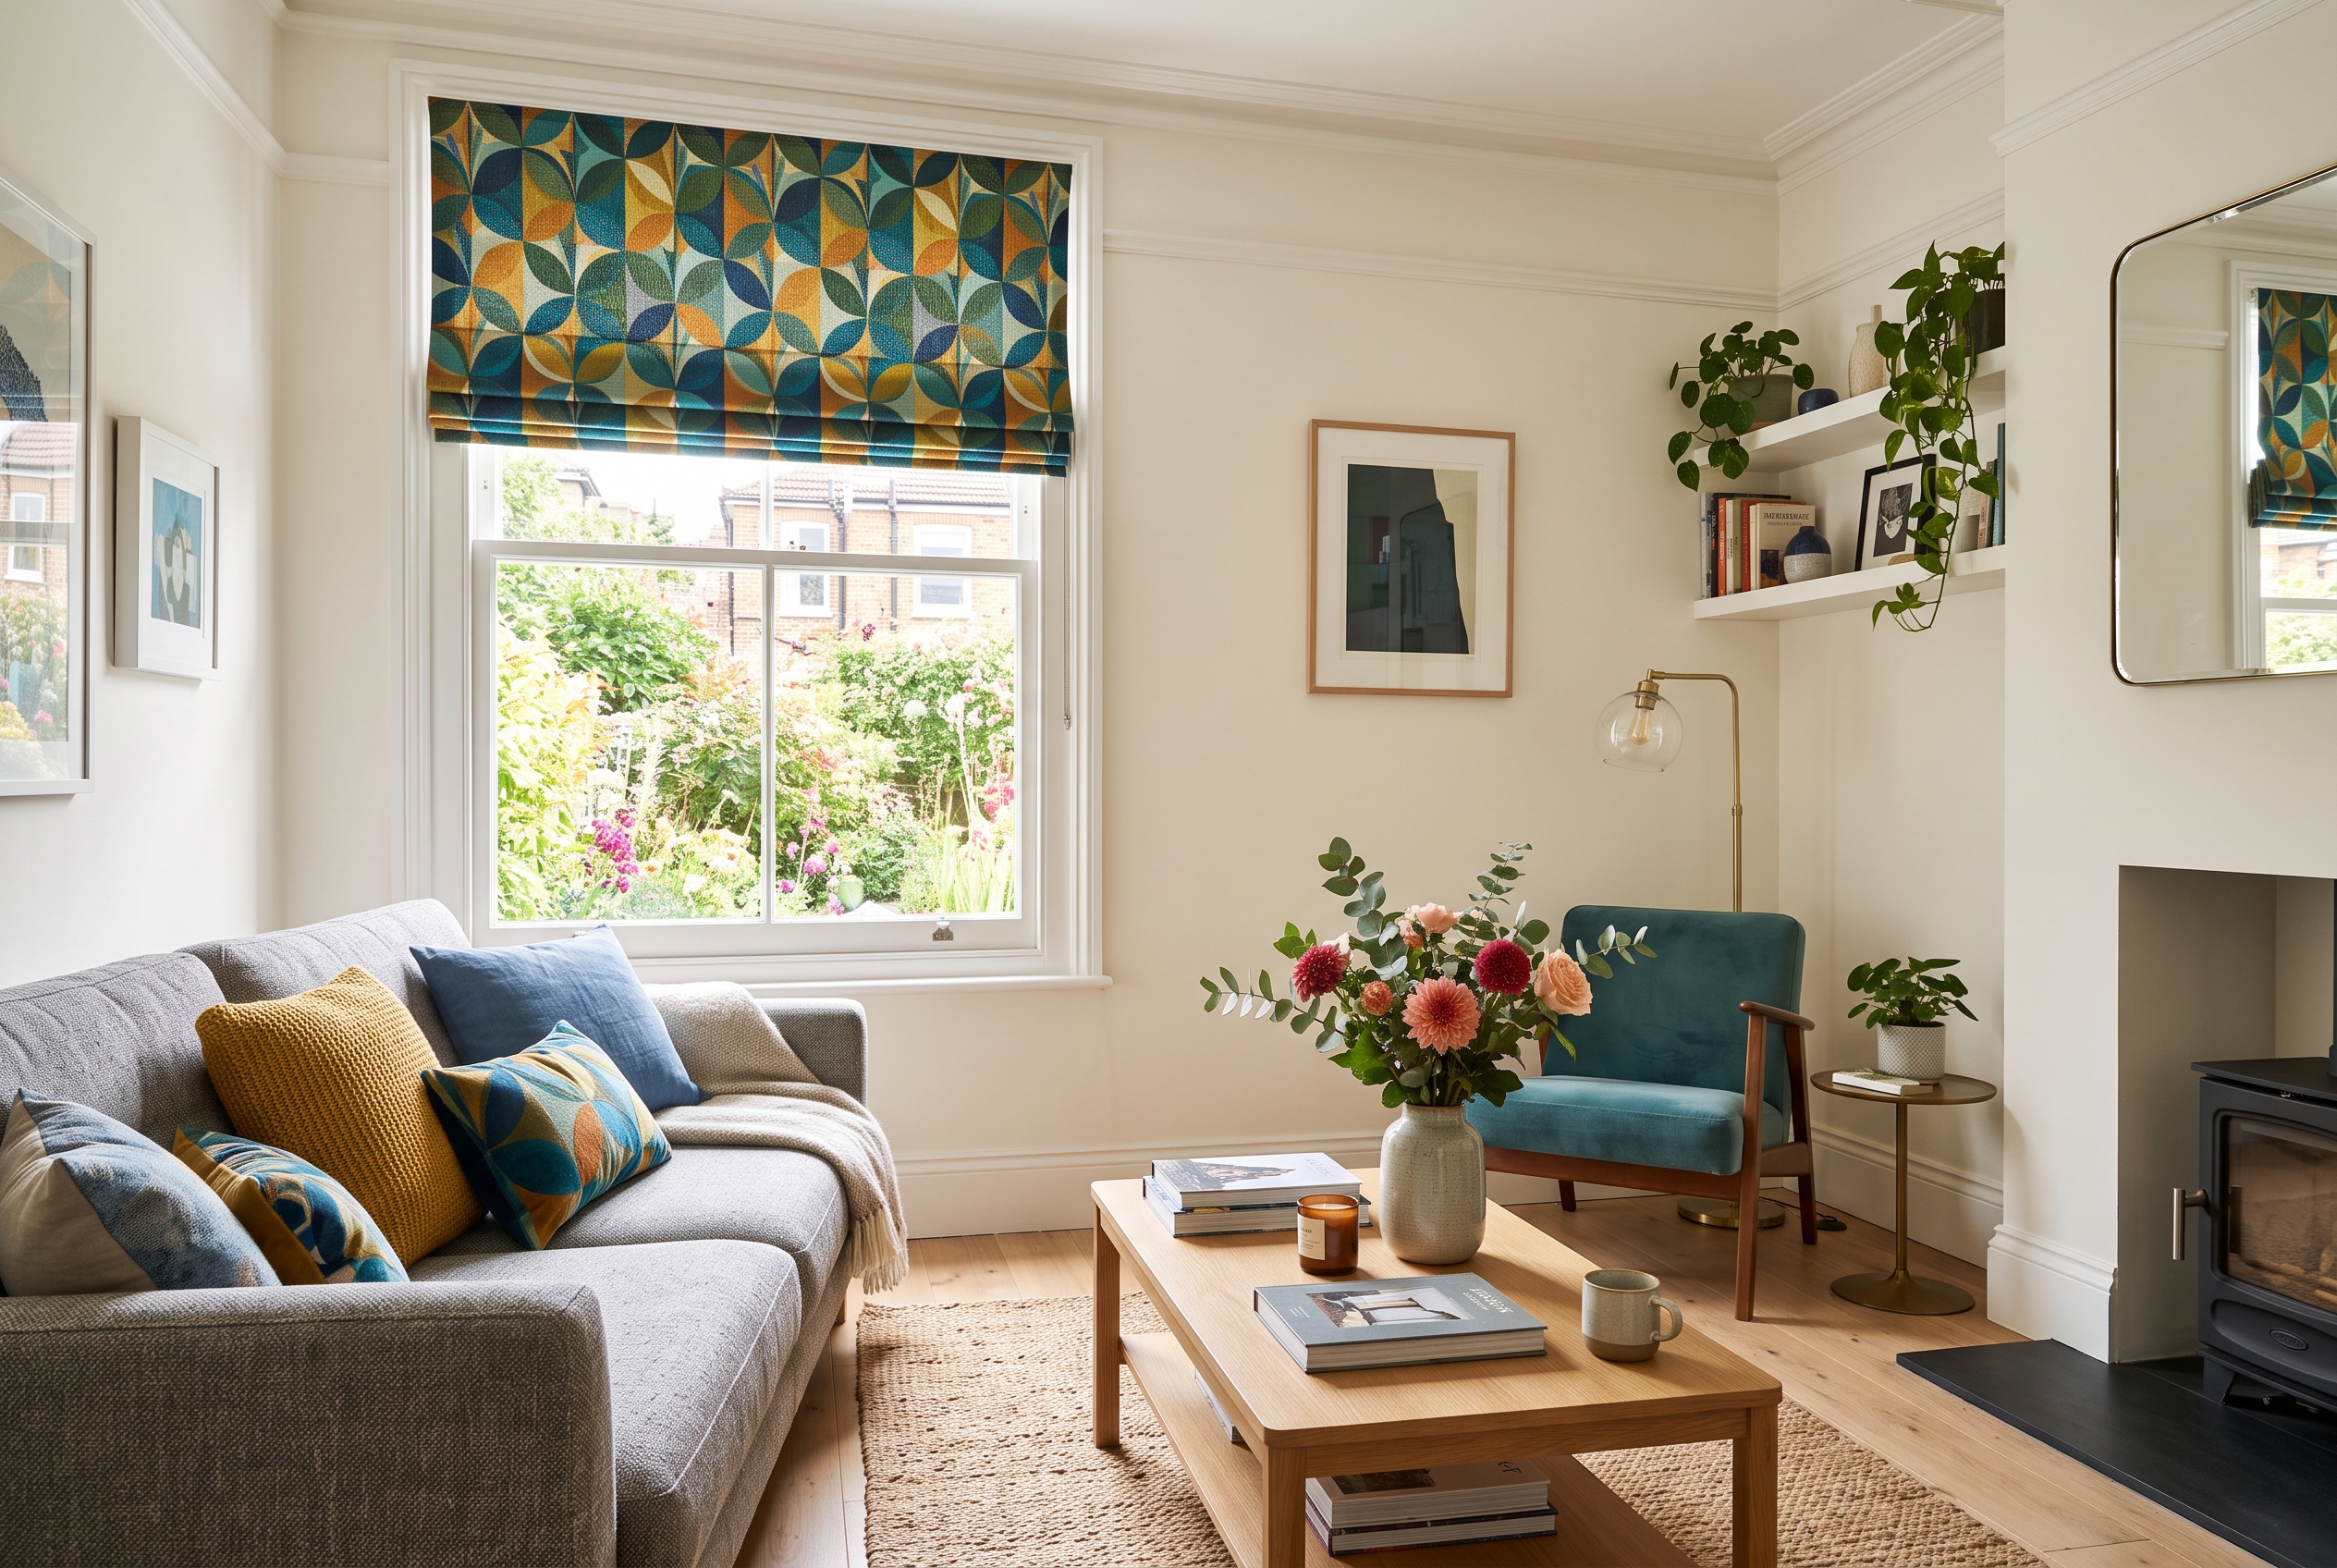
Roman Blinds These add softness and luxury. They look stunning in traditional Victorian bays. However, be aware that when a Roman blind is fully raised, the fabric stacks up at the top. This “stack height” can be quite thick (200mm to 250mm), which might block some light at the top of your window.
Venetian Blinds (Wood or Metal) A classic choice. They offer excellent privacy as you can tilt the slats to stop people looking in while still letting light in.
- Pro Tip: For bay windows, align the slats. When we make your blinds, we cannot guarantee the slats on all three blinds will be perfectly aligned with each other (as it depends on the drop). However, skilful fitting can often adjust this.
Roller Blinds The modern choice. They are neat, tidy, and have a very small profile. If you want to maximise the light coming into your bay, rollers are the best option as they roll up very tightly.
Summary Checklist
Ready to measure? Grab your metal tape measure and follow this final checklist:
- Check for obstructions: Note down how far your handles stick out.
- Choose your blind type: Find out the headrail depth from the product page.
- Make your templates: Cut cardboard strips to the correct depth (Blind Depth + Handle Clearance).
- Mark the corners: Use the templates to find where the blinds will meet.
- Measure the width: Measure between your marks for the Left, Centre, and Right blinds.
- Measure the drop: Take the shortest vertical measurement.
- Double-check everything: Measure twice, order once.
Still Unsure? We Are Here to Help
We understand that measuring a bay window can be daunting. If you are worried about making a mistake, do not guess.
Take a photo of your bay window (standing back so we can see the whole thing) and close-up photos of the corners. Email them to our team. We can look at your specific window layout and advise you on exactly where to measure.
Ready to transform your bay? Book a free home visit today!